
Every WordPress site owner that wants people to find their work via search engines will eventually start looking for ways to improve their site’s SEO. One way to do this is with the help of a plugin called “Yoast SEO.”
This plugin has been around for a while, and is actively supported and recommended by webmasters. You can install it, for free (although their is also a premium version with some great features), and make it a little easier to optimize the SEO on the pages of your site. Our guide below will show you how to install the Yoast SEO plugin in WordPress.
How to Install Yoast on a WordPress Site Using the Genesis Framework
Step 1: Sign into the admin section of your WordPress site.
Step 2: Hover over Plugins in the left column, then click the Add New option.

Step 3: Type “yoast seo” into the search field, then click the Install Now button on the Yoast SEO search result.

Step 4: Click the Activate button.

Step 5: You can then configure the settings for the Yoast plugin by hovering over the SEO option in the left column, then clicking the Dashboard option.
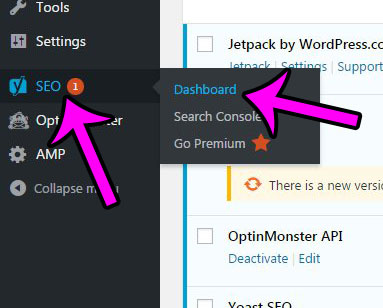
There is a link under Notifications on the next screen that you can click to configure the plugin, based on some information that you provide about the site.

This will start a 10-step process where you answer some questions, such as your site type, if it’s a company or personal blog, social media profiles, etc.

Would you like to add AMP functionality to your WordPress site? You can do so with the help of a couple plugins and have AMP versions of all your posts up and running in just a few minutes.
Matt has been working with WordPress and creating content using this powerful content management system for years. While he has written about many other tech topics, WordPress is one of his favorites.
You can read his full bio here.
You must be logged in to post a comment.