Your WordPress installation has a lot of menus and settings and, over time, you will eventually customize those settings until you find the combination that works best for your site.
But while your initial concern may be over the elements of the site that are visible to your site visitors, you may also decide that you would like to customize some of the behind-the-scenes elements in your admin panel. One of these locations, the Dashboard, can be very useful. But it can also get very cluttered, as many plugins are vying for space in that location. Fortunately you can remove many of the sections of your WordPress dashboard by following the steps below.
How to Customize the WordPress Dashboard
The dashboard in WordPress is the first screen you see when you go the admin section of your site. Many of the sections of this dashboard can be removed by following the steps below. However, certain plugins, themes, and hosting providers may have added dashboard elements that cannot be removed.
Step 1: Sign into your WordPress dashboard at yourdomain.com/wp-admin.
Step 2: Select the Dashboard option in the left column of the admin panel.

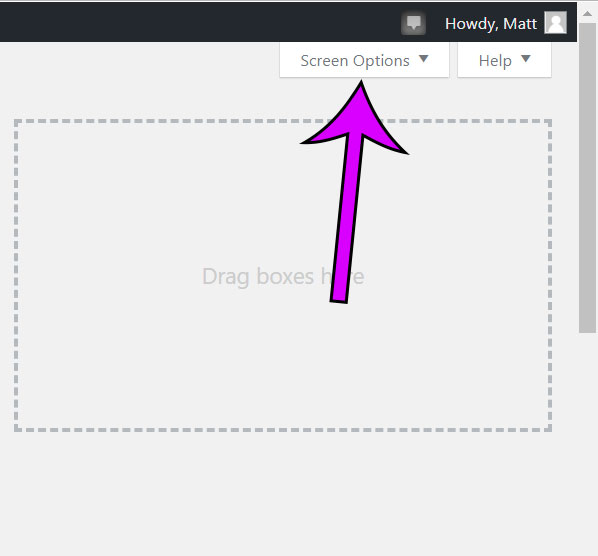
Step 3: Click the Screen Options button at the top-right of the window.

Step 4: Check the box to the left of any dashboard elements that you would like to remove from the dashboard.

This option to remove sections on the page will work for many of the other menus in WordPress, too.
Is there a page on your site that you would like to remove? Find out how to delete a page in WordPress, such as the sample page that is included with each new installation.
Matt has been working with WordPress and creating content using this powerful content management system for years. While he has written about many other tech topics, WordPress is one of his favorites.
You can read his full bio here.
You must be logged in to post a comment.